
I’ll be honest with you—I used to think cracked leather meant game over. I had a leather chair that looked like it had been dragged through a desert and left in the sun for a decade. But after some trial, error, and a few miracle products, I managed to bring it back from the brink.
If you’ve got cracked leather and you’re wondering whether it can be saved—yes, it can. And I’ll show you exactly how I did it.
What Causes Leather to Crack?
Before I could fix the problem, I had to understand why it happened in the first place. Leather isn’t indestructible. It’s skin, after all—tough, but still delicate when neglected.
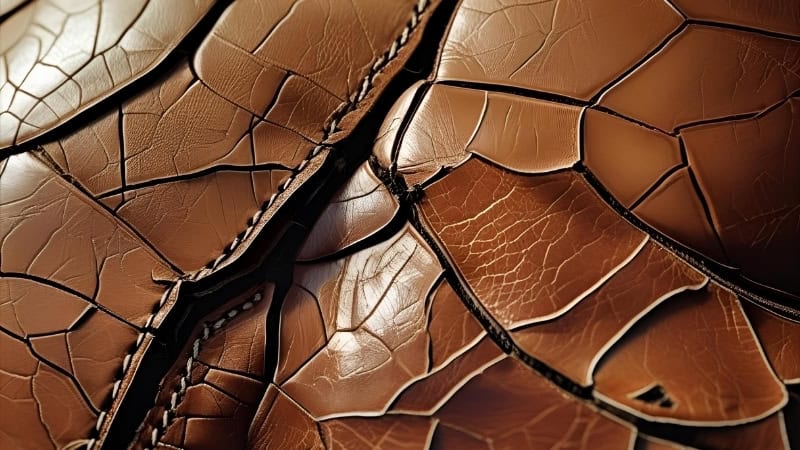
Most leather cracks because it dries out. Over time, leather loses its natural oils, especially if it’s exposed to sunlight, heat, or not conditioned regularly. In my case, I had left my leather recliner near a window for over a year. Big mistake.
The sun sapped all the moisture out of it, and it developed thin, spider-web-like cracks that kept getting worse.
Other causes? Poor cleaning habits (like using water or household cleaners), general neglect, and sometimes just old age. If the leather is low quality or bonded, it tends to crack even faster.
Can You Really Fix Cracked Leather?
This is probably the first question I asked myself, too. After some research and hands-on experience, the answer is – yes, but with some caveats.
You can definitely make cracked leather look and feel much better, especially if the cracks are surface-level. For deeper cracks, you won’t always get it back to factory new, but you can repair and restore it to a point where it’s soft, sealed, and good-looking again. It’s all about the right tools and method for your leather’s condition.
Best Products to Repair Cracked Leather – Tested & Reviewed
Let me walk you through the products I personally tested. I grouped them by the level of damage they’re best for—because what works for mild cracks might flop on deeper damage.
Recommended Read: What Leather Conditioner Alternatives Really Work & What to Avoid
1. Leather Conditioners (for minor surface cracks)
For light cracks, all you really need is a high-quality conditioner. This is where I started.
Leather Honey Leather Conditioner
- Why I like it: It’s thick, long-lasting, and a little goes a long way. After applying it to my cracked leather belt, the difference was night and day.
- Pros: Soaks deep into the fibers, restores suppleness, no overpowering scent
- Cons: Takes a few hours to fully absorb, not a quick fix
Chamberlain’s Leather Milk
- Why I like it: It feels more like a lotion—easy to apply, organic ingredients, and it smells really nice. Great for handbags or jackets.
- Pros: Eco-friendly, safe for delicate leather
- Cons: Not strong enough for more damaged leather
These conditioners won’t work miracles on deep cracks, but they’ll dramatically improve surface dryness and flexibility.
2. Leather Repair Kits (for moderate to deep cracks)
Once my recliner developed deeper grooves, I had to bring out the big guns.
Coconix Leather Repair Kit
- Why I like it: Comes with everything—color compounds, spatula, brush, filler, and clear instructions. I used it to repair my cracked car seat.
- Pros: Color matching chart, decent durability
- Cons: Takes some patience to apply and blend
Fortivo Leather and Vinyl Repair Kit
- Why I like it: This was my budget-friendly pick. I tested it on an old leather wallet and was surprised by how well it worked.
- Pros: Affordable, multipurpose, works on vinyl too
- Cons: Color matching is tricky if you’re new to it
These kits are best for “cosmetic surgery” on leather—where you’re filling and painting over deeper issues.
3. Leather Fillers and Binders (for dry, brittle, or deep cracking)
When the leather is super dry or heavily cracked, using filler or binder is crucial before any conditioner or dye.
Fiebing’s Leathercraft Cement
- Why I like it: I used this for deep cracks in a saddlebag. It bonds cracked sections together and creates a smooth finish.
- Pros: Dries clear, strong adhesion
- Cons: Needs careful application or it can look messy
Furniture Clinic Leather Re-Coloring Balm
- Why I like it: This is more than a color balm—it also helps hide cracks. I used it to recolor a faded armrest after using filler underneath.
- Pros: Available in many shades, fast results
- Cons: Not a filler on its own—needs prep
Step-by-Step Guide to Repairing Cracked Leather
Now that you know the tools, let’s go step by step through the actual repair process. I’ll break it down the way I tackled each stage.
Recommended Read: Best Way to Clean Leather: The Ultimate Leather Cleaning Guide
Step 1: Clean the Leather Thoroughly
Before fixing anything, cleaning is essential. I made the mistake once of skipping this step, and the conditioner just sat on top of old dirt.
Use a gentle leather cleaner—something pH balanced. I used Lexol Leather Cleaner with a microfiber cloth. Rub gently in circles and don’t soak the leather. You want it clean and dry before any filler or conditioner touches it.
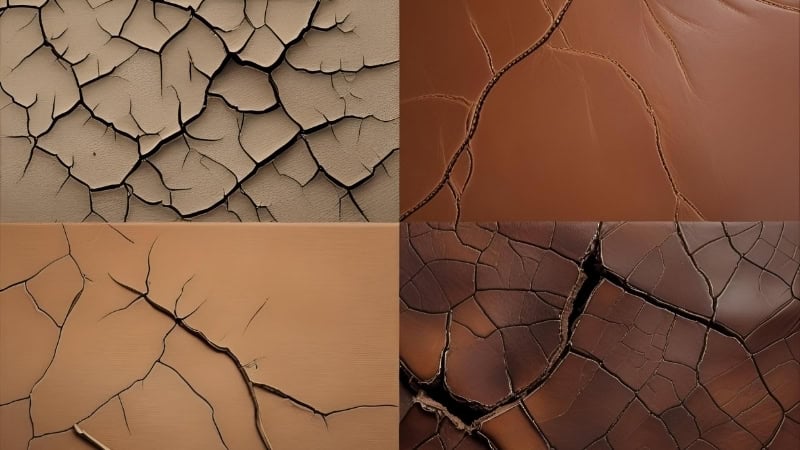
Step 2: Assess the Depth of the Cracks
Lay your hand flat over the leather—if you feel resistance or roughness, it’s not just dry; it’s cracked. And your treatment will vary depending on the level or depth of the crack.
Here’s how I judged what I was dealing with:
- Surface cracks: Shallow, barely rough to the touch = conditioner-only job
- Moderate cracks: Visible lines, leather feels dry = needs filler or kit
- Deep cracks: Gaping, possibly exposing fabric backing = filler + color balm
Dig Deeper: How to Condition Leather the Right Way
Step 3: Apply Conditioner or Repair Compound
For my jacket with light cracks, I used Leather Honey and let it sit overnight. For the deeper seat cracks, I mixed the repair compound from Coconix, filled the cracks, let it dry, then applied a second layer.
If you’re using filler, apply it with a spatula and work it in lightly. Let each layer dry before adding more. Patience matters—rushing this step will leave you with visible ridges.
Step 4: Blend or Color the Area (If Needed)
Once the cracks are filled and dry, blending is key. I used Furniture Clinic’s balm that matched my chair’s color and applied it with a sponge. It hid the repaired areas beautifully.
Some kits come with dye compounds—just make sure to test color on a hidden spot first. You can also apply a leather finish/sealer for added protection.
Before-and-After Results: What You Can Expect
Here’s the truth. Leather repair isn’t magic, but it is transformative. After fixing my recliner, the cracks were no longer visible unless you were up close. It looked nourished, more flexible, and had that deep leather richness again.
Even with my old belt, the cracks faded into the grain after a couple of conditioning sessions. So while you may not get brand-new, you’ll definitely get “looking good again.”
Pro Tips for a Longer-Lasting Fix
A few things I’ve learned the hard way, and you can avoid that hard part, but still get the lesson. Below are the tips that will save you time, increase your convenience, and help alleviate fatigue.
- Don’t apply too much conditioner in one go—it can oversaturate and attract dust.
- Always clean first, no matter how clean it looks.
- Use gloves when applying compounds—it gets messy.
- Layer filler in small amounts. Thick applications will crack again.
How to Prevent Leather Cracking in the Future
Now that I’ve restored my leather, I’ve become borderline obsessive about upkeep. Yes, upkeep is the smartest thing to ensure here. That will keep cracking and other types of damage at bay while extending the life of your loved leather items.
- Keep leather away from direct sunlight and heat sources.
- Condition every 3–6 months, depending on how often the item is used.
- Use leather protector sprays if the item sees a lot of wear.
A little monthly TLC goes a long way in keeping leather smooth and healthy.
Common Mistakes to Avoid When Repairing Cracked Leather
If you want to avoid making things worse, here’s what not to do (yes, I’ve done some of these):
- Don’t use olive oil or household oils: They can make leather sticky or cause dark blotches.
- Don’t skip cleaning: Dirt prevents proper absorption.
- Don’t over-filler: Makes the leather stiff and uneven.
- Don’t mix incompatible products: Always check what ingredients are in your cleaner vs conditioner.
Is DIY Leather Crack Repair Worth It?
After going through this process on multiple items—from belts to furniture—I can confidently say: Yes, it’s worth it. Especially if you’re dealing with real leather. You’ll save money, extend the life of your pieces, and get a weird satisfaction from reviving something that looked dead.
So whether you’re repairing a sentimental jacket or your car seat, don’t throw it out just yet. Give it a little love, follow these steps, and you’ll be amazed at the results.
