
Leather isn’t like drawing smooth plastic or rough wood—it sits somewhere in between. It has natural imperfections, wrinkles, and folds that tell a story. Capturing this texture with just pencil or pen is all about observing light, shadow, and surface detail.
Once you know how to work those elements in, means you have learned how to draw leather and your drawings can pop off the page.
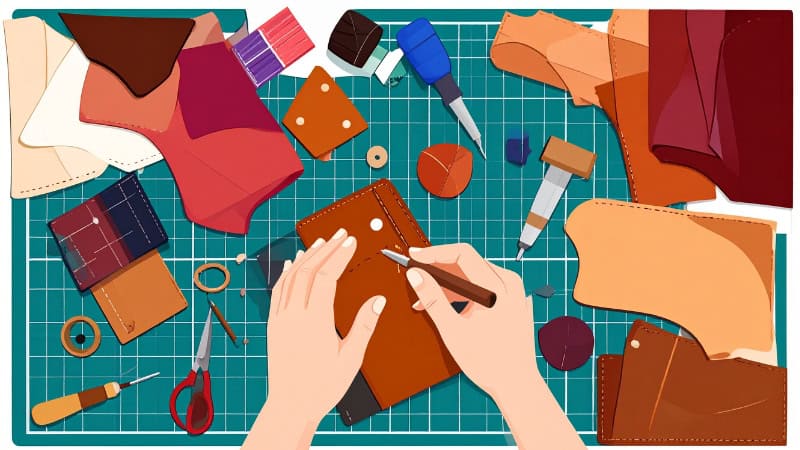
Recommended Read: The Ultimate Leatherworking Tools List for Everyone
Materials You’ll Need
Before you start sketching, gather the right tools to capture all the subtle details and textures that make leather so realistic.
Having the right tools also gives you more control over depth and shading, which is essential when working with organic materials like leather.

For Traditional Drawing:
- Graphite pencils – 2B, 4B, and 6B work well for shading
- Eraser – both a kneaded eraser for subtle lifting and a regular one
- Blending stump or tortillon – for smooth shading transitions
- Sketchbook or heavyweight drawing paper – the texture of the paper helps with shading
For Digital Drawing:
- Tablet and stylus – iPad with Procreate, or a Wacom with Photoshop
- Brush set that includes soft shading brushes and texture brushes
Understanding Leather Texture
To draw leather convincingly, you need to know what makes it look like leather. So, let’s break down its surface characteristics and how they vary by type.
This includes everything from the smooth shine of a leather jacket to the rough nap of suede. Recognizing these differences will help you adjust your lines, shading, and highlights appropriately for a more believable final result.
Types of Leather:
- Smooth leather: Found in dress shoes and jackets—has a soft shine and fine texture.
- Cracked/distressed leather: Older or vintage leather with natural wear.
- Suede/Nubuck: Matte and soft, absorbs light instead of reflecting it.
- Patent leather: Ultra glossy with sharp highlights and deep shadows.
Common Features:
- Wrinkles and folds from wear and movement
- Seams and stitching in garments and accessories
- Surface reflection—leather tends to catch and reflect light unevenly
- Soft sheen that requires subtle highlight work
Basic Sketch: Outlining the Leather Object
Now that you know what to look for, it’s time to start the drawing. Begin by sketching the structure and layout of the object made of leather.
Getting the proportions and folds right at this stage lays the foundation for realistic leather later on. Think of it as setting up the skeleton before adding the skin.
Start simple. Focus on proportions and form before diving into detail.
- Draw the basic shape of the object—jacket, glove, boot, etc.
- Sketch in major folds where the leather would bend or wrinkle (like elbows, heels, or straps).
- Mark seams or stitch lines with light guidelines.
Use soft, confident lines for the outline. Don’t press too hard—you’ll be building layers of detail and shadow over this.
Adding Details and Texture
With your outline in place, it’s time to bring the leather to life by adding wrinkles, stitches, and surface texture.
This is where your drawing starts to pick up character and realism. Leather tells a story through its wear patterns—so take your time adding those small imperfections that give it soul.
Wrinkles and Folds:
- Add organic, slightly curved lines to mimic real creases.
- Avoid symmetrical or repeating lines—leather has natural, irregular patterns.
- Thicker, deeper folds will cast shadows; draw the outer line and shade within it.
Stitches and Seams:
- Use fine lines or tiny dashes to simulate stitching.
- Stitching often follows curves and can give more dimension to the object.
Texture:
- Use tiny dots, cross-hatching, or lightly dragged pencil strokes to simulate grain.
- For distressed leather, try gently erasing or smudging small areas to show wear.
This is a build-up process. Add a bit, step back, then add more. Don’t rush the texture—this is what makes leather look real.
Shading and Highlights
Shading is what really separates flat drawings from realistic ones—and with leather, it’s where the magic happens.
The way light hits and wraps around the leather surface is what gives it that signature depth and softness. If you get your highlights and shadows right, the texture will practically draw itself.
1. Determine the light source.
Is the light hitting from above? Side? Behind? Mark this out in your head or lightly on the paper.
2. Apply midtones first.
- Use your 2B pencil or a medium-soft brush to lay down an even base.
- Shade smoothly to mimic the way light wraps around curved leather surfaces.
3. Add shadows.
- Use a 4B or 6B pencil for darker areas, like deep folds or under creases.
- Keep the edges of shadows soft in rounded areas and sharper near tight creases.
4. Add highlights last.
- Use a kneaded eraser to lift small bright areas.
- On smooth leather, these highlights are more defined and often curve along the shape.
- On suede, skip the shiny highlight—keep the surface soft and matte.
Don’t be afraid to blend. Leather isn’t harsh—it has soft gradients, even when worn.
Recommended Read: What Color Is British Tan Leather?
Coloring (Optional)
If you’re going beyond black and white, color can add even more realism—just be sure to use subtlety and layering to your advantage.
The warmth and richness of leather really shine through in color, especially in browns, blacks, and deep reds. Getting the undertones and reflected light right will elevate your piece to the next level.
Color Pencil or Marker Tips:
- Start with a base color like brown, black, or tan.
- Layer darker tones in shadows and warmer tones in highlights.
- Use white or light-colored pencil to burnish highlights for a polished look.
Digital Coloring Tips:
- Use a soft round brush for shadows and a glossy highlight brush for shine.
- Add a subtle leather texture overlay (many brush packs include this).
- Adjust opacity to get that semi-reflective look just right.
Remember: Leather reflects warm and cool tones depending on its environment. A little blue or orange reflected light can make your drawing pop.
Final Touches
Once you’ve done the heavy lifting with texture and shading, these last tweaks will make your leather drawing feel finished and refined.
This is your polish phase—where you clean up edges, fine-tune the contrast, and emphasize focal areas. Small refinements here can really make your drawing stand out.
- Clean up stray lines or rough shading with your eraser or undo tool.
- Darken key shadows to increase contrast and realism.
- Sharpen highlights only where needed—on edges, curves, and worn spots.
- Zoom out or step back to check the overall balance.
Recommended Read: Fish Leather – A Unique Leather Type
Practice Tips
Like anything in art, the best way to get better at drawing leather is to just keep at it—so here are some ways to improve faster.
- Use real references. Draw your own boots, jacket, or wallet.
- Try different leather types. Practice with suede, glossy, and cracked surfaces.
- Study lighting effects. Place a leather object under different light sources and take pictures.
- Challenge yourself. Try drawing leather combined with other textures like metal or fabric.
Final Thoughts
Learning how to draw leather is a mix of observation, technique, and patience—but it’s totally worth it once your sketch starts looking touchably real. Keep practicing, stay curious, and don’t be afraid to lean into the folds, shine, and subtle texture. All that makes leather such a rewarding material to draw.